
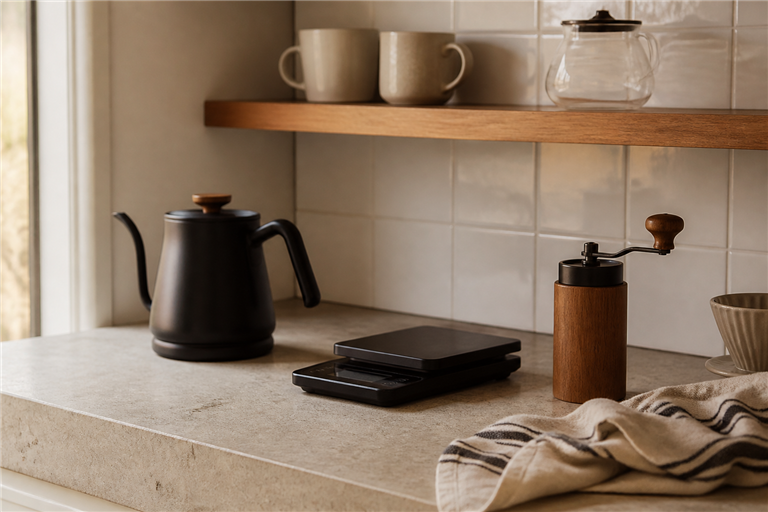
You already own everything you need to brew a noticeably better cup tonight. This list is for home brewers who have spent enough on drippers, kettles, and grinders and want the next upgrade to cost nothing. Five free variables move the cup the most. Each pick below is anchored to published brewing standards or a reputable manufacturer document, not folklore. No new hardware, no subscription water, just the equipment already on your counter.
1. Weigh both the coffee and the water
Scoops are inconsistent. A single tablespoon of medium-ground coffee can swing between 5 g and 7 g depending on how the scoop compacted the grounds. That’s roughly a 15% ratio error before water ever touches the bed. Any kitchen scale that reads in 0.1 g increments will do (jewelry, baking, or a coffee scale you already own).
Pick a ratio and lock it. A 20 g dose on a Hario V60 02 at 1:16 needs exactly 320 g of water, poured in stages, on the same scale. If you already dose by weight but pour by eye, put the dripper on the scale and tare it before each pour.
If you’re still using scoops, tablespoons, or the little line molded into the filter basket, this is the first thing to change. Dose and pour accuracy tighten cup-to-cup consistency more than a mid-range grinder upgrade will.
2. Fix your water before you fix your grind
Brewed coffee is over 98% water by weight, and the mineral profile of that water sets the ceiling on flavor extraction. The Specialty Coffee Association’s water target is a TDS around 150 ppm, calcium hardness of 50-175 ppm, and less than 40 ppm bicarbonate alkalinity (Third Wave Water’s SCA summary).
Two free adjustments cover most kitchens. If your tap reads above 250 ppm on a cheap TDS pen, blend it 1:1 with distilled or reverse-osmosis water from the grocery store. If you already brew with zero-mineral bottled water, it will taste flat because there is nothing for the flavor compounds to bind to. Blending in a small volume of mineral spring water (Volvic, for instance, sits near 130 ppm) usually revives the cup.
Hard-water cities feel this fix hardest, and so does any kitchen where the “clean” brews taste hollow. Mineral content is the free variable with the largest sensory swing, especially on lighter roasts where delicate acids and florals have the most to lose.
3. Sift the fines with a kitchen sieve
Even good burr grinders produce a small fraction of dust-sized particles that over-extract and choke drawdown. A standard fine-mesh kitchen sieve (roughly 500 microns) catches most of that dust. Grind the dose, shake it inside the sieve over a bowl for 20-30 seconds, then brew with what stays above.
There’s a catch worth naming. Removing fines speeds up drawdown, which can lower extraction if you change nothing else. Kruve, the coffee-sieve manufacturer, points out that sifted brews usually need a finer grind setting to hit the same time and strength (Kruve on the common sifting mistake). Expect to move one or two clicks finer, then chase the drawdown time you had before.
Hand-grinder owners get the biggest lift here, along with anyone whose pour-overs come out silty or muddy. Sifting only helps if you also retune grind size to hit the original drawdown window.
4. Time the water off boil instead of guessing
The SCA Golden Cup contact-temperature range is 92-96°C (Moccamaster’s SCA reference). If you have no thermometer, physics does the work for you. At sea level, water boils at 100°C and drops about 1°C every 30 seconds in a lidless kettle.
Altitude changes the starting point. Perfect Daily Grind notes water boils at roughly 95°C in Denver and near 92°C at 2,400 m (Perfect Daily Grind on elevation). Use this cheat sheet from your kettle instead of a probe.
| Elevation | Boiling point | Wait before pouring |
|---|---|---|
| Sea level (0 m) | 100°C | 30-60 s |
| 500 m | 98°C | 20-40 s |
| 1,500 m (Denver) | 95°C | 0-15 s |
| 2,400 m | 92°C | pour immediately |
If your brews taste sour on the first sip, that usually points to under-extraction from water that came off boil too cold. A lidless kettle plus a stopwatch beats a cheap thermometer.
5. Bloom, agitate, and pour on purpose
The pour itself hides three free variables: bloom time, agitation, and pour pattern. For a Hario V60 (01 or 02), bloom with roughly twice the coffee weight in water (about 40 g for a 20 g dose, stretching to 60 g on very fresh roasts that off-gas hard). Wait 30-45 seconds. Give the slurry one gentle swirl, or stir once with a chopstick, so every ground gets wet. The bed will visibly recede as gas escapes; your next pour rebuilds it.
Then pour in slow, concentric circles from the center outward. Keep the stream a few millimeters clear of the paper, which is where water short-circuits past the bed. Aim for a total brew time of 2:30-3:30 on a 15 g dose (Hario V60 01) and 3:30-4:30 on a 25 g dose (Hario V60 03). If drawdown finishes much earlier, you likely have channels; grind finer, or pour more gently, next time.
If your recipe looks right on paper but tastes different every morning, this is where consistency actually lives. Agitation controls evenness more than most home brewers credit, and it costs nothing to fix.
Which fix to try first
Match your current complaint to the item that pays back fastest, then work down the list.
| If your cup tastes… | Try this first |
|---|---|
| Sour or thin | #4 (brew temperature) |
| Muddy or silty | #3 (sift fines) |
| Flat or hollow | #2 (water minerals) |
| Different every day | #1 (weigh dose and water) |
| Fine but not quite there | #5 (bloom, swirl, pour pattern) |
The pattern behind all five
The single highest-leverage tweak is water. Ratio and grind get most of the blog coverage, but mineral content decides how much of the bean’s flavor ever reaches the cup. Tonight, test your tap with a $10 TDS pen; if it reads above 250 ppm, blend it 1:1 with distilled water and brew the same recipe you brewed yesterday. Then move down the list, one variable per session, and keep the recipes you can reproduce.