
A 250 g bag of Yirgacheffe sat on my counter last month, opened on a Tuesday. By Sunday the crema on my AeroPress had thinned, the jasmine note was nearly gone, and the cup read flat. The beans weren’t bad. They were stale. Most of what decides whether opened beans hold up for four weeks comes down to three variables, and once you handle those, week-four coffee tasting close to week-one is genuinely doable at home.
Three variables, in plain order
Keep opened beans in an opaque, airtight container with a one-way valve, freeze the bulk as single-dose portions, and brew from a small working jar at room temperature. What you’re managing underneath those steps: oxygen exposure, temperature stability, and moisture contact. Everything else follows from those three.
What actually breaks opened beans down
Roasted coffee is a sponge of volatile aromatics sitting on a bed of trapped CO2. Four things wreck it:
- Oxygen oxidizes the oils and produces that flat, papery taste. By far the biggest enemy.
- Light, specifically UV, breaks down aromatic compounds in days.
- Heat accelerates staling reactions; every 10 °C (18 °F) above 20 °C roughly doubles the rate.
- Moisture restarts chemical reactions and wrecks grind consistency.
Fresh beans also off-gas CO2 for 2–3 weeks after roast. That CO2 is your friend inside the bag because it pushes oxygen out. In a sealed jar without a valve, though, pressure builds and forces you to crack the lid. The moment you vent, oxygen rushes back in.
What you’ll need
- One opaque, airtight canister with a one-way valve, 250–500 ml (an Airscape, a Fellow Atmos, or any valve-equipped tin)
- 4–8 small single-dose jars (60 ml / 2 oz jam jars work) or a vacuum-sealable bag
- A freezer that holds steady at −18 °C (0 °F) or colder
- A fine-tip marker for labels
- A digital scale accurate to 0.1 g
The 4-week storage routine
Step 1: Read the roast date, not the “best by”
Find the stamped roast date on the bag. For pour-over, coffee tends to peak between day 7 and day 21 post-roast; espresso runs slightly later, day 10–28. If the bag only shows a “best by,” subtract 12 months for a rough roast date. Knowing day zero lets you plan everything that comes next.
Step 2: Portion within 24 hours of opening
The moment the seal breaks, oxygen starts working. Within a day, split the bag:
- Working jar: 3–7 days of beans, roughly 100–150 g for a daily brewer pulling 18 g per cup.
- Freezer stash: the rest, divided into single-dose portions matched to your brew dose exactly (18 g for a Hario V60 02, 30 g for a 1-litre Chemex, whatever you actually pull).
Single-dosing matters because every freezer-to-counter cycle creates condensation. Each portion should thaw once, ever.
Step 3: Load the working jar correctly
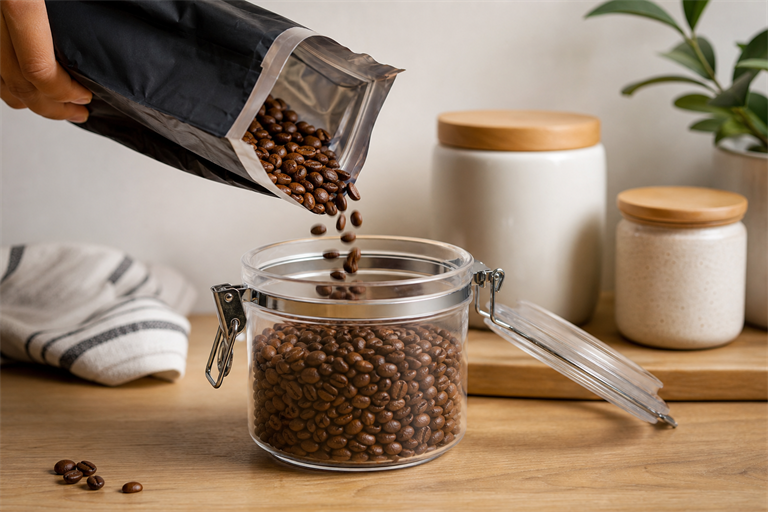
Pour the beans into the opaque valve canister, press the inner plunger down to push out headspace air, and keep the canister on a cool counter away from the stove and direct sun. Aim for 18–22 °C (64–72 °F). Skip the fridge entirely. Fridge interiors cycle humidity and smell like leftover takeout, and beans absorb both.
Step 4: Freeze the rest in airtight single doses
Weigh each dose into a small jar or vacuum bag, push or pump out as much air as you can, seal, and freeze immediately. Properly sealed frozen beans stay near-fresh for 2–3 months, well past your 4-week window with room to spare.
Step 5: Thaw single doses without condensation
Take one sealed portion out and let it sit sealed on the counter for 20–30 minutes. Crack a cold jar open in warm kitchen air and you’ll pull moisture straight onto the beans. Once it’s at room temperature, grind and brew the whole dose. Never refreeze.
Step 6: Refill the working jar from the freezer, not the bag
When the working jar runs low, pull enough thawed single doses to top it up. Any beans still in the original bag go into the freezer too. Your daily beans then sit at a consistent age and temperature, which is half the battle.

One small test from my kitchen
Last month I split a 250 g bag of washed Ethiopian Yirgacheffe from Onyx into two halves: one stayed in the working canister on the counter at about 21 °C, the other went into 18 g doses in jam jars in the freezer. Week three, I brewed two side-by-side V60s at a 1:16 ratio, 94 °C water, a 36 g bloom for 45 seconds, then a second pour up to 288 g. The counter half had lost most of its jasmine and tasted vaguely of dried apricot skin. The frozen-and-thawed dose still had the floral top note, honestly closer to how it tasted at week one than I expected. That single afternoon converted me to single-dose freezing for anything I won’t finish in seven days.
When the cup goes wrong
| Symptom in the cup | Likely cause | Fix |
|---|---|---|
| Flat, papery, no aroma | Oxygen exposure (loose lid, too much headspace) | Use a valve canister; press out air daily |
| Sour and thin even at correct ratio | Beans older than 5 weeks post-roast | Brew hotter (95 °C / 203 °F) and finer; buy smaller bags |
| Muted aroma, clumpy grounds | Moisture from freezer condensation | Thaw sealed; never reopen a jar mid-thaw |
| Off, fridge-like flavor | Stored near onions, garlic, or in the fridge | Move to a sealed opaque container, away from food |
| No bloom on pour-over | CO2 fully escaped (stale) | Bloom with 36 g water for 45 s on an 18 g dose, then add 15 s to total brew |
If sourness sticks around after you’ve tightened storage, the issue is probably extraction rather than freshness. Our troubleshooting guide for sour AeroPress shots walks through the same diagnostic logic for immersion brewers.
Numbers worth pinning to the fridge
| Parameter | Target |
|---|---|
| Container | Opaque, airtight, one-way valve |
| Working jar size | 3–7 days of beans (~100–150 g) |
| Counter temperature | 18–22 °C (64–72 °F) |
| Freezer temperature | −18 °C (0 °F) or colder |
| Single-dose weight | Your exact brew dose (e.g. 18 g for a Hario V60 02 at 1:16) |
| Thaw time before opening | 20–30 minutes, sealed |
| Peak brew window | Day 7–28 post-roast |
| Max storage (frozen, sealed) | 2–3 months |
Your next step today
Grab a marker. Write the roast date on your current bag, weigh tomorrow’s dose into a small sealed jar, and tuck it in the freezer. Single-dosing the very next brew is the highest-impact move you can make before the beans lose another day.
Once freshness is handled, the next variables to lock down are grind and pour: see our recipe for dialing in a light-roast V60 and the broader beginner’s walkthrough for better pour-over at home to get the most out of every fresh dose.